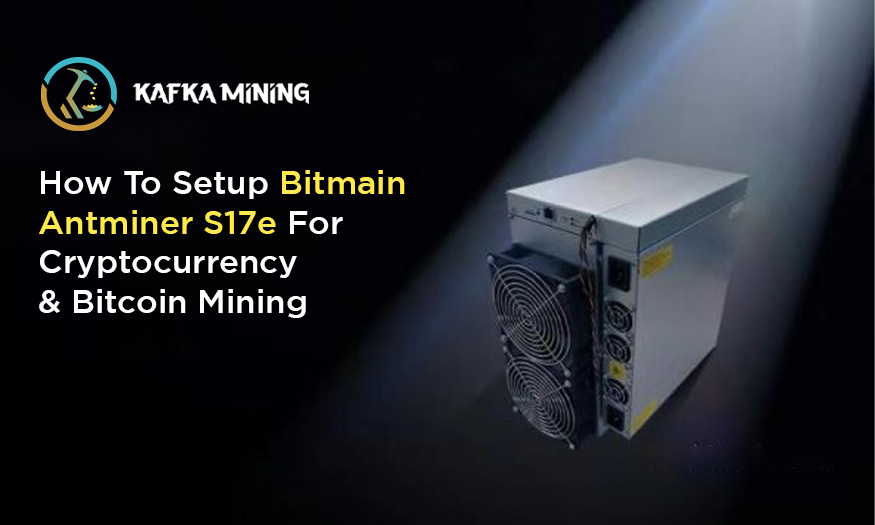
If you're seeking a profitable investment venture, cryptocurrency mining may be worth exploring. With accessible tools, anyone can participate, and the Bitmain Antminer S17e ranks among the top ASIC miners for Bitcoin and other cryptocurrencies.
This comprehensive guide will help you configure your Bitmain Antminer S17e for effective cryptocurrency mining, enabling you to capitalize on the high-earning potential of this thriving industry.
The Bitmain Antminer S17e is a top-of-the-line ASIC miner specifically built for mining Bitcoin and other cryptocurrencies. Boasting two hash boards with 30 ASIC chips each, this powerful miner is capable of processing complex cryptographic algorithms needed to create new blocks in the Bitcoin blockchain. With an impressive maximum hash rate of 64 TH/s, the Antminer S17e is widely regarded as one of the most powerful ASIC miners available on the market today.
To set up your Bitmain Antminer S17e for cryptocurrency and Bitcoin mining, follow these steps:
Step 1: Choose a Location
When setting up your Bitmain Antminer S17e, the first step is to choose a suitable location for the miner. It's essential to select a location that is well-ventilated and has a stable power supply to ensure that the miner can operate at peak efficiency. A well-ventilated location ensures that the miner stays cool and prevents overheating, which can lead to hardware damage or failure. Additionally, a stable power supply is essential to ensure that the miner can run continuously without interruption, which is critical for efficient mining.
It's also important to choose a location that is secure to prevent theft or damage to the miner. Ideally, you should select a location that is accessible only to authorized personnel and is protected by security measures such as locks, surveillance cameras, or alarms. By choosing a secure location for your Antminer S17e, you can minimize the risk of theft or damage and ensure that your mining operations run smoothly.
Step 2: Connect Power Supply
Once you've selected a suitable location for your Bitmain Antminer S17e, the next step is to connect the power supply. It's important to note that the miner requires a power supply of 220V-240V and consumes a maximum of 2880W. To power the miner, you can either use a single power supply or multiple power supplies, depending on your setup and preferences. It's crucial to ensure that the power supply is compatible with the miner and provides sufficient power to run the device. By connecting a reliable and suitable power supply to your Antminer S17e, you'll be able to maximize the miner's performance and ensure stable and efficient mining of cryptocurrencies like Bitcoin.
Step 3: Connect Ethernet Cable
To connect the Bitmain Antminer S17e to the mining pool, you'll need to establish an Ethernet connection. This involves connecting an Ethernet cable from the miner to your router or switch to establish an internet connection. The Ethernet cable provides a fast and reliable connection that ensures your miner can communicate with the mining pool and other devices on your network. By setting up a stable Ethernet connection, you'll be able to maximize the performance of your Antminer S17e and ensure that you can mine cryptocurrencies like Bitcoin with ease.
Step 4: Configure Miner Settings
After connecting your Bitmain Antminer S17e to the power supply and Ethernet cable, the next step is to configure the miner settings. To do this, log in to the miner's web interface using the default IP address, which is typically 192.168.0.100, and set the miner's username and password. Once you've done this, you can configure the miner's network settings, including the IP address, subnet mask, and gateway. These settings are essential to ensure that your miner is correctly connected to your network and can communicate with other devices. By taking the time to configure these settings correctly, you'll be able to maximize the performance of your Antminer S17e and start mining cryptocurrencies like Bitcoin with ease.
Step 5: Join a Mining Pool
Joining a mining pool is a crucial step to begin mining cryptocurrencies, such as Bitcoin. A mining pool is a community of miners who work together to increase their chances of successfully mining a block and earning rewards. To join a mining pool, you can sign up on a mining pool website and create a worker account. After creating your worker account, you'll need to enter the mining pool's URL, username, and password in the miner's web interface. This will allow you to connect your Antminer S17e to the pool and start mining cryptocurrencies as part of the pool's collective effort.
Step 6: Start Mining
Once you've configured your Bitmain Antminer S17e and joined a mining pool, the last step is to start mining. Head to the miner's web interface and click on the "Miner Configuration" tab. Here, you can set the mining algorithm, frequency, and fan speed to optimize your mining performance. Once you've configured these settings, click on the "Save & Apply" button to save your changes and start mining. With these simple steps, you can start earning rewards for your mining efforts.
Getting started with Bitmain Antminer S17e for mining Bitcoin and other cryptocurrencies is a relatively straightforward process that can be accomplished by following the steps outlined in this guide. Before you begin, make sure you have the right location, power supply, Ethernet cable, mining pool, and miner settings. Keep in mind that cryptocurrency mining consumes a lot of energy and generates heat and noise, so it's crucial to take these factors into account when setting up your Antminer S17e. However, with the right preparations and considerations, you can start mining cryptocurrencies and earning rewards in no time.
Leave a Comment